Authentication and Authorization Using Middleware in Django
 Scout APM
on
May 07, 2024
Scout APM
on
May 07, 2024
Django is a “batteries-included” framework. It has a wide array of built-in features that handle common web development tasks: URL routing, template engine, object-relational mapping (ORM), and database schema migrations. This makes it highly efficient for rapid development, allowing developers to focus on building their applications' unique aspects without reinventing basic functionalities.
Django includes built-in functionalities for user authentication and authorization. But sometimes, you want extra functionality or need to use a third-party library to perform some of these roles. In those cases, it’s essential to understand how Django’s middleware can be leveraged to integrate these custom or third-party authentication and authorization solutions.
How Django Middleware Works
Middleware in Django serves as a critical component in the request-response cycle. It's a framework of hooks that process requests and responses, acting before and after view functions. Middleware can alter the request and response objects, query data, handle sessions or cookies, and redirect or modify the execution flow.
When a request is made to a Django server, it doesn't directly reach the view. Instead, it passes through various middleware layers defined in settings.py under MIDDLEWARE. Each Django middleware layer can perform actions before passing the request to the next layer or the view.
When you first install Django, the default middleware looks like this:
MIDDLEWARE = [
   'django.middleware.security.SecurityMiddleware',
   'django.contrib.sessions.middleware.SessionMiddleware',
   'django.middleware.common.CommonMiddleware',
   'django.middleware.csrf.CsrfViewMiddleware',
   'django.contrib.auth.middleware.AuthenticationMiddleware',
   'django.contrib.messages.middleware.MessageMiddleware',
   'django.middleware.clickjacking.XFrameOptionsMiddleware',
]
Here’s what each Django middleware layer does:
1. SecurityMiddleware enhances security by adding headers like X-XSS-Protection, X-Content-Type-Options, and enforcing SSL/TLS (HTTPS) and other security-related settings.
2. SessionMiddleware manages sessions across requests, enabling the use of session framework, which stores data on a per-site-visitor basis.
3. CommonMiddleware provides various functionalities, such as URL redirections, appending trailing slashes, and sending 404 errors for missing favicon.ico requests.
4. CsrfViewMiddleware adds Cross-Site Request Forgery protection to your forms by checking for a special token in each POST request.
5. AuthenticationMiddleware associates users with requests using sessions, making the request.user attribute available in view functions.
6. MessageMiddleware enables temporary message storage, allowing one-time display messages to be passed between views.
7. XFrameOptionsMiddleware provides clickjacking protection by setting the X-Frame-Options HTTP header, which controls whether a browser should allow a page to be rendered in a <frame>, <iframe>, <embed>, or <object>.
After the view processes the request, the response goes through the middleware layers in reverse order, allowing further manipulation.
To create custom middleware in Django, you must define a class with specific methods or use the function-based approach shown above. The key methods are __init__ and __call__. Optionally, you can implement process_view, process_exception, and process_template_response for more specific hooks.
Here's an example of a class-based custom middleware:
class MyMiddleware:
    def __init__(self, get_response):
        self.get_response = get_response
        # One-time configuration and initialization.

    def __call__(self, request):
        # Code executed on each request before the view (or next middleware) is called.
        response = self.get_response(request)
        # Code executed on each response after the view is called.
        return response

    # Optional hooks:
    def process_view(self, request, view_func, view_args, view_kwargs):
        # Called just before Django calls the view.
        # Return either None or HttpResponse.

    def process_exception(self, request, exception):
        # Called for the response if the view raises an exception.
        # Return either None or HttpResponse.

    def process_template_response(self, request, response):
        # Called for template responses.
        # Return a response.
To activate this middleware, you would add 'path.to.MyMiddleware' to the MIDDLEWARE setting in settings.py.
Integrating Authentication and Authorization Middleware in Django
Let’s create our Django middleware to use a third-party authentication library. Instead of authenticating a user through the Django built-in auth system, we’ll use the Python Social Auth library, which “aims to be an easy-to-setup social authentication and authorization mechanism for Python projects supporting protocols like OAuth (1 and 2), OpenID and others.”
You can install it with:
pip install social-auth-app-djangoOur Custom Middleware for Django
Here’s our middleware.py, which will go into our project root directory:
# middleware.py
from django.shortcuts import redirect
from django.urls import reverse, resolve

class SocialAuthMiddleware:
   def __init__(self, get_response):
       self.get_response = get_response

   def __call__(self, request):
       # List of paths that don't require authentication
       open_paths = [
           '/login/',  # Assuming '/login/' is the path for your login view
           '/social-auth/login/google-oauth2/',  # The path for social auth, avoid redirecting requests for authentication
           # Add any other paths that should be publicly accessible
       ]

       # Check if the request path is not in the open paths
       if request.path not in open_paths:
           print(request.path)
           # Check if the user is authenticated
           if not request.user.is_authenticated:
               # Redirect to login page if not authenticated
               return redirect(reverse('social:begin', args=('google-oauth2',)))

       # Continue processing the request
       response = self.get_response(request)
       return response
At a high level, SocialAuthMiddleware checks if a user is authenticated on each request. If the user is not authenticated and is trying to access a path not listed in open_paths, the Django middleware redirects them to the Google OAuth 2.0 login page. Let’s break it down.
The __init__ method initializes the middleware. get_response is a callable that represents the next middleware in the chain. Storing it allows the middleware to call the next middleware or the view function.
Then, the __call__ method is the heart of the Django middleware. It is called on every request and gets the request object as an argument. The first array within this method is open_paths, a list of paths that are accessible without authentication. In this case, it includes the path to the login page and the path used for Google OAuth 2.0 authentication.
We then check if the current request's path is not in the open_paths list.
- If the path is not in open_paths, the middleware checks if the user is authenticated.
- If the user is not authenticated, it redirects the user to the Google OAuth2 login URL, generated using reverse('social:begin', args=('google-oauth2',)).
reverse('social:begin', args=('google-oauth2',)) is where the magic happens. The reverse function is used in Django for URL reversing. It takes a URL pattern's name and returns a string URL.
'social:begin' is the name of a URL pattern provided by the social-auth-app-django library, which initiates the authentication process with various social platforms. In this case, the argument 'google-oauth2' specifies that the authentication process should be started using Google OAuth2.
The result of reverse('social:begin', args=('google-oauth2',)) is a URL that points to the view initiating the Django OAuth 2.0 process with Google. When users are redirected to this URL, they are taken to the Google sign-in page, where they can log in using their Google credentials. Once the user completes the Google login, Google will redirect them back to your application.
Now the user is authenticated (or the request path is in open_paths and never went through the authentication process), the middleware calls the next middleware or view function and returns its response.
Adding New Settings
We can then add that to your MIDDLEWARE array in settings.py:
MIDDLEWARE = [
   'django.middleware.security.SecurityMiddleware',
   'django.contrib.sessions.middleware.SessionMiddleware',
   'django.middleware.common.CommonMiddleware',
   'django.middleware.csrf.CsrfViewMiddleware',
   'django.contrib.auth.middleware.AuthenticationMiddleware',
   'django.contrib.messages.middleware.MessageMiddleware',
   'django.middleware.clickjacking.XFrameOptionsMiddleware',
   'middleware_project.middleware.SocialAuthMiddleware,
]
While we’re here, we want to make a couple of other changes to settings.py. First, we need to add “social_django” as an app:
INSTALLED_APPS = [
   'django.contrib.admin',
   'django.contrib.auth',
   'django.contrib.contenttypes',
   'django.contrib.sessions',
   'django.contrib.messages',
   'django.contrib.staticfiles',
   'social_django',
]
We’ll also want to register the templates for our new pages and the social_django context processors:
TEMPLATES = [
   {
       'BACKEND': 'django.template.backends.django.DjangoTemplates',
       'DIRS': [os.path.join(BASE_DIR, 'middleware_project/templates')],
       'APP_DIRS': True,
       'OPTIONS': {
           'context_processors': [
               'django.template.context_processors.debug',
               'django.template.context_processors.request',
               'django.contrib.auth.context_processors.auth',
               'django.contrib.messages.context_processors.messages',
               'social_django.context_processors.backends',
               'social_django.context_processors.login_redirect',
           ],
       },
   },
]
Context processors are used in Django to add context variables to the context of a template. Each context processor must return a dictionary of items to be merged into the context for a template. By adding these, you enable your Django templates to access specific data related to social authentication, which helps create dynamic and user-friendly authentication flows in your application.
Then, we’ll need to add our Django authentication backends:
AUTHENTICATION_BACKENDS = (
   'social_core.backends.google.GoogleOAuth2',
   'django.contrib.auth.backends.ModelBackend',
)
Django authentication backends are used to authenticate users. They specify the methods and logic used to verify a user’s credentials and to authenticate a user.
We are going to be authenticating using Google. So, we need to set up a project and OAuth credentials within Google to use their service. We need to add these two variables to settings.py:
SOCIAL_AUTH_GOOGLE_OAUTH2_KEY = '<client_id>'
SOCIAL_AUTH_GOOGLE_OAUTH2_SECRET = '<client_secret>'
To obtain your Client ID and Client Secret for integrating Google OAuth 2.0 with your Django application, register your application with Google's API Console and set up OAuth2 credentials.
Step 1: Create a Project in Google Cloud Console
1. Go to the Google Cloud Console.
2. If you haven't already, sign in with your Google account.
3. Click on the project drop-down near the top of the page and click “New Project.”
4. Enter a project name and select or create a billing account if prompted. Click “Create.”
Step 2: Set Up OAuth Consent Screen
1. In the Google Cloud Console, select your project.
2. Navigate to the “APIs & Services > Credentials” page.
3. Click on “Configure Consent Screen”.
4. Choose “External” for User Type to allow users outside your organization to sign in, then click “Create.”
5. Fill in the required fields under the “OAuth consent screen” tab. This typically includes your application name, user support email, and a developer contact email.
6. Click “Save and Continue”. You can also add scopes and test users, which can be configured later.
Step 3: Create Credentials
1. Go to the “Credentials” tab in the same section.
2. Click “Create Credentials” at the top of the page and select “OAuth client ID.”
3. Choose “Web application” as the Application type.
4. Set up the authorized JavaScript origins and authorized redirect URIs. For local testing, use http://localhost:8000/. The redirect URI is where Google will send the response, e.g., http://localhost:8000/social-auth/complete/google-oauth2/.
5. Click “Create”.
Step 4: Obtain Your Client ID and Secret
1. Once the credentials are created, you’ll see your Client ID and Client Secret.
2. Copy the “Client ID” and “Client Secret.” These are your SOCIAL_AUTH_GOOGLE_OAUTH2_KEY and SOCIAL_AUTH_GOOGLE_OAUTH2_SECRET, respectively.
3. Add these keys to your Django settings.
Now, your Django application should be able to use Google for OAuth 2.0 authentication.
Django Views and Templates
For our Django app, we’ll also create two basic views:
# In your views.py
from django.shortcuts import render

def login_view(request):
   # Render a login template or redirect to a login URL
   return render(request, 'login.html')

def account_view(request):
   # Render a login template or redirect to a login URL
   return render(request, 'account.html')
Then, we can make the two templates for these views. First, login.html
<!DOCTYPE html>
<html>
 <head>
   <title>Login</title>
 </head>
 <body>
   <h2>Login</h2>
   <a href="{% url 'social:begin' 'google-oauth2' %}">Login with Google</a>
 </body>
</html>
This will allow us to access the Google Login page. Then we’ll create an account page that we’ll be redirected to after login:
<!DOCTYPE html>
<html>
 <head>
   <title>Profile</title>
 </head>
 <body>
   <h2>Profile</h2>
   You are logged in
 </body>
</html>
We need to add the paths for our login and account pages to our urls.py:
urlpatterns = [
   # other paths ...
   path('login/', views.login_view, name='login'),
   path('social-auth/', include('social_django.urls', namespace='social')),
   path('accounts/profile/', views.account_view, name='account'),
]
That’s it. If we start up our Django application and go to http://localhost:8000/login, we’ll be redirected to the Google Sign-in page:
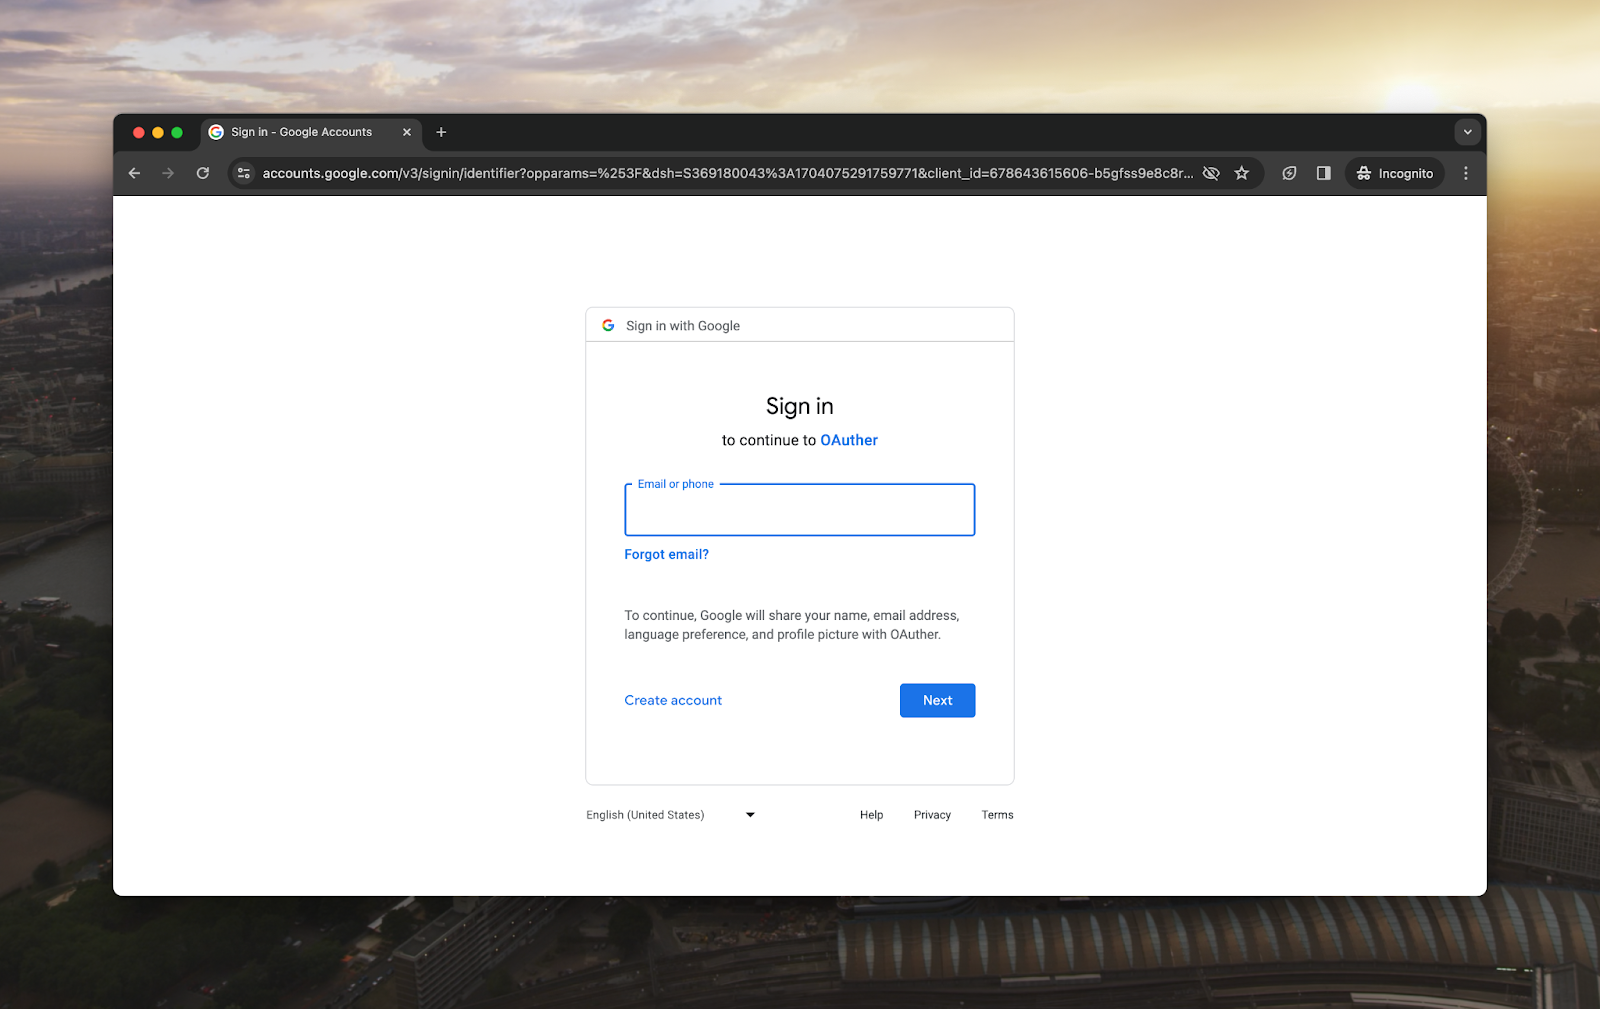
If we enter a Google account, we’ll be signed into our Django application:
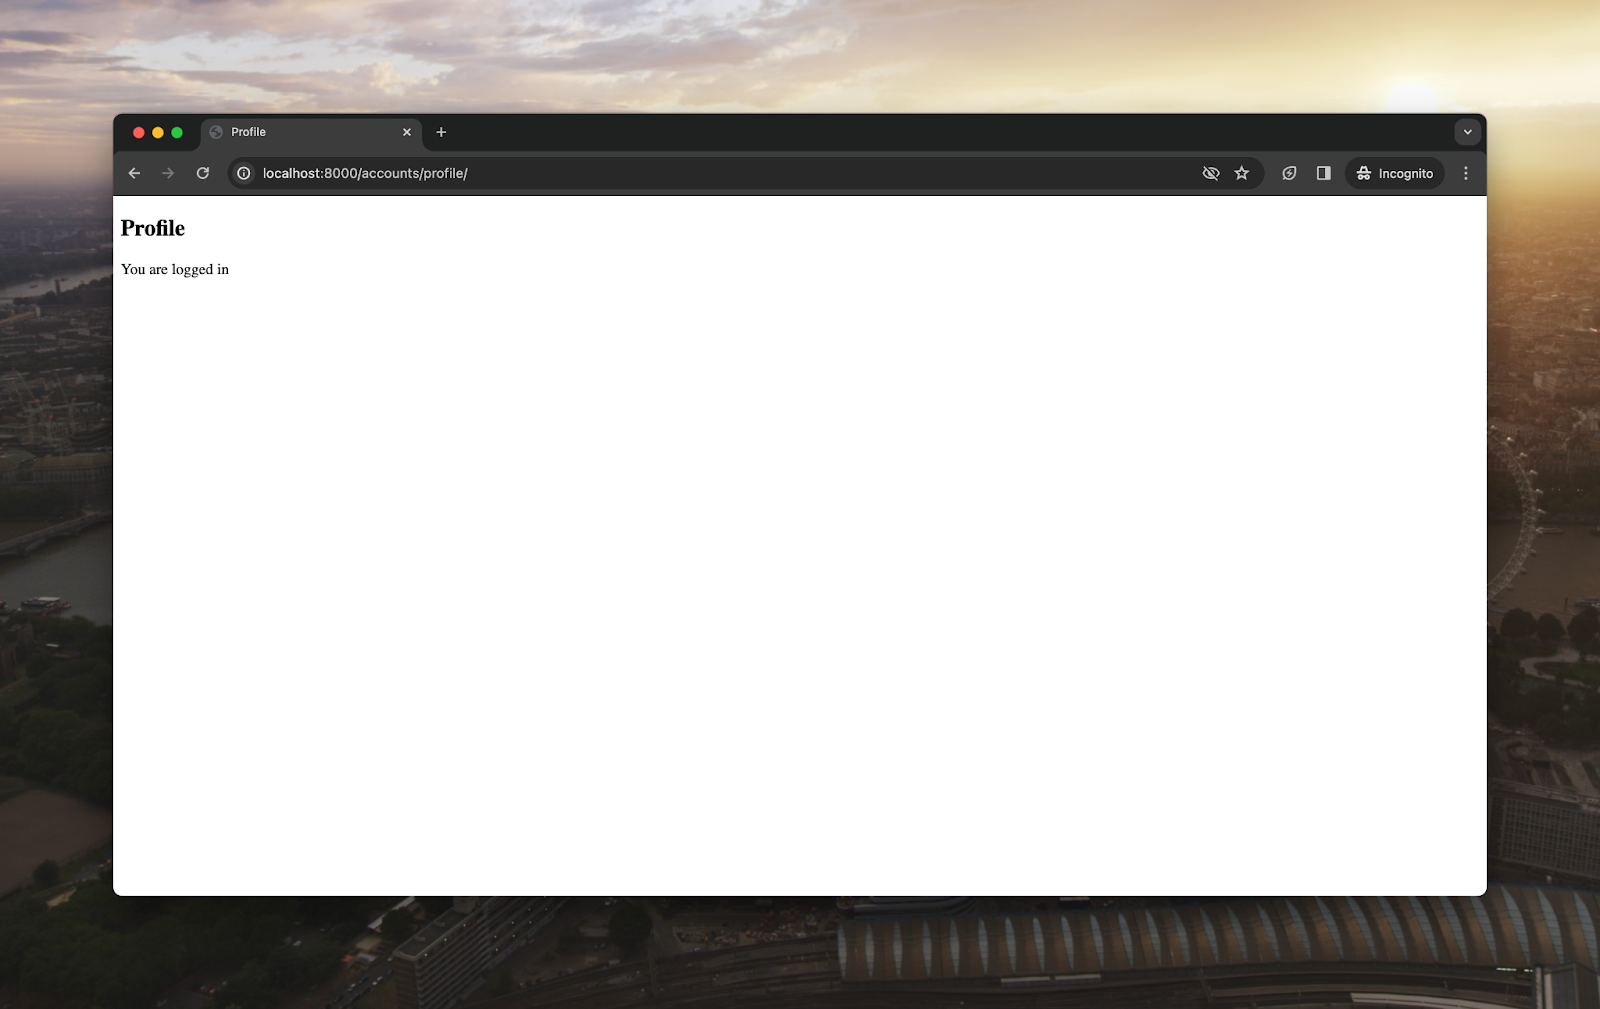
We’ve now authenticated with Google and can take advantage of Google authentication and authorization services however we need
Easier Django Authentication With Custom Middleware
This might seem like a lot of changes to add Django authentication, something the framework already has. But by leveraging third-party libraries (like Python Social Auth) and services (like Google OAuth), you can make your Django applications far more powerful.
And, if you look back, most of the changes you need to make are minor–some extra settings and templates—the things you need to do in Django anyway. The actual middleware is only a few additional lines for a lot of extra functionality.
The same framework as above can work for any custom middleware you want to include in your Django application. By learning this simple technique, you can significantly streamline user experiences and open new possibilities for user interaction and integration with external systems. Whether it's enhancing authentication flows, integrating third-party services, or customizing user sessions, the flexibility offered by custom middleware makes it a valuable tool in your Django development toolkit.